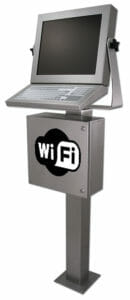
Our line of industrial thin client enclosures and industrial PC enclosures were designed to accommodate a wide range of customer computer hardware ranging from industrial “brick PCs” to desktop form factor computers.
These enclosures allow the PC to be placed at the point of use, without necessarily using special, high cost industrial computing hardware. In most cases, the only wiring requirements are the AC power input and a single Ethernet cable for network access. For many customers, network access is required but no Ethernet is available. This is particularly common on production lines where frequent retooling means that HMI workstations can be moved as needed.
In these cases, wireless network access is the obvious solution, but how well does WiFi work when the device is enclosed in a fully sealed and grounded steel enclosure? Given the wide variety of devices used in our enclosures, there is no single method that works for everyone, but we have devised a few different methods that work in most cases.
Option 1: No External Antenna
In many cases, a WiFi-enabled device can be placed directly into our enclosure, with only minimal signal loss. We have multiple customers using this technique in production environments with good results. Of course individual results can vary widely depending on the devices in use and the proximity/power of the WiFi Access Point, but in our controlled lab tests we observed only ~8% Tx/Rx signal loss between two 63 mW WiFi devices, measured at a distance of 18.6 m. We would highly recommend testing this method in your environment before deciding it will work for you.

Option 2: Sealed Exposed WiFi Antenna
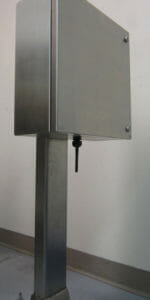
Many WiFi devices use standard “rubber duck” type antennas where the antenna element is sealed in a plastic or rubber casing. A very simple way of exposing these of type antennas outside of our industrial enclosures is to simply pass them through a ROX or other type compression gland designed to seal a cable passing through a bulkhead.
Positioning the antenna to pass through the base of the enclosure (in the case of our thin client enclosure) provides a further degree of protection for the antenna. Often “rubber duck” antennas are attached directly to the device containing the WiFi radio, which could make proper positioning difficult, but this can be solved by using a short coaxial pigtail connector to separate the antenna from the device for positioning.
Option 3: Custom WiFi Antenna Radome Enclosure
Many recent WiFi antennas use 2 or even 3-element arrays instead of the traditional dipole design found in a rubber duck antenna. These antennas often come in shapes that defy simply passing an antenna through a cable gland.

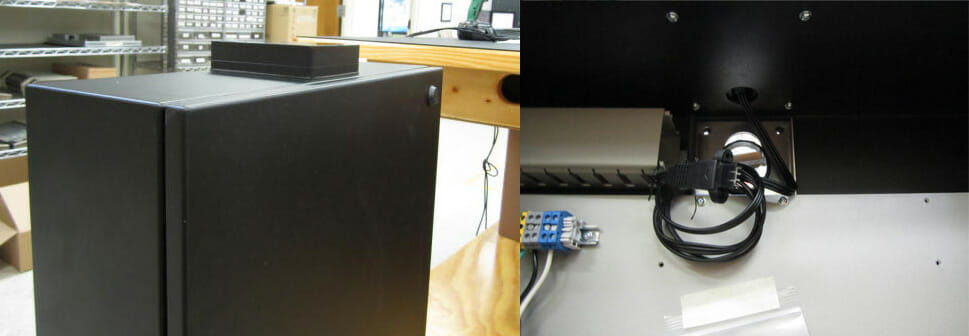
In these cases, our engineers have designed custom plastic radomes that attach to the outside of the enclosure with simple holes drilled for mounting and to allow cables to pass through the enclosure wall. The image above shows one such solution for a customer using the Dell Optiplex XE industrial computer. In this solution, the factory 3-element antenna is positioned on the top of our enclosure where it has a line-of-sight view to ceiling-mounted access points, while keeping the fully sealed IP65/66 wash down rating of the enclosure.